
Solder SmokeBGone – A DIY Fume Extractor
 This is one of those DIY projects I should have done a long time ago. I solder a fair bit and mostly use lead-free solder, but sometimes there are those projects where you need to use the bad stuff. I cringe each time I do it and pop the gas mask on and bear through it. I finally decided to do something about it . 10 minutes of DIY hacking and I have a fume extractor. Given I already had the fan, this cost me a few bucks to make.
The Bits:
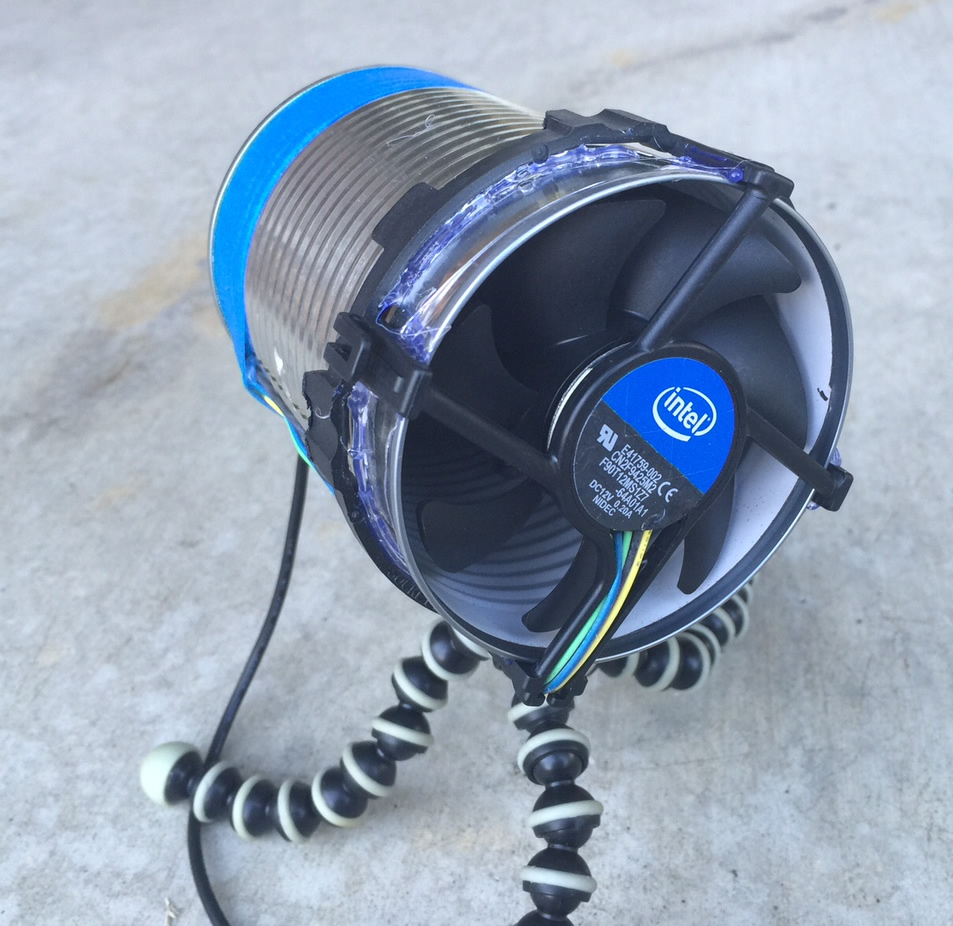
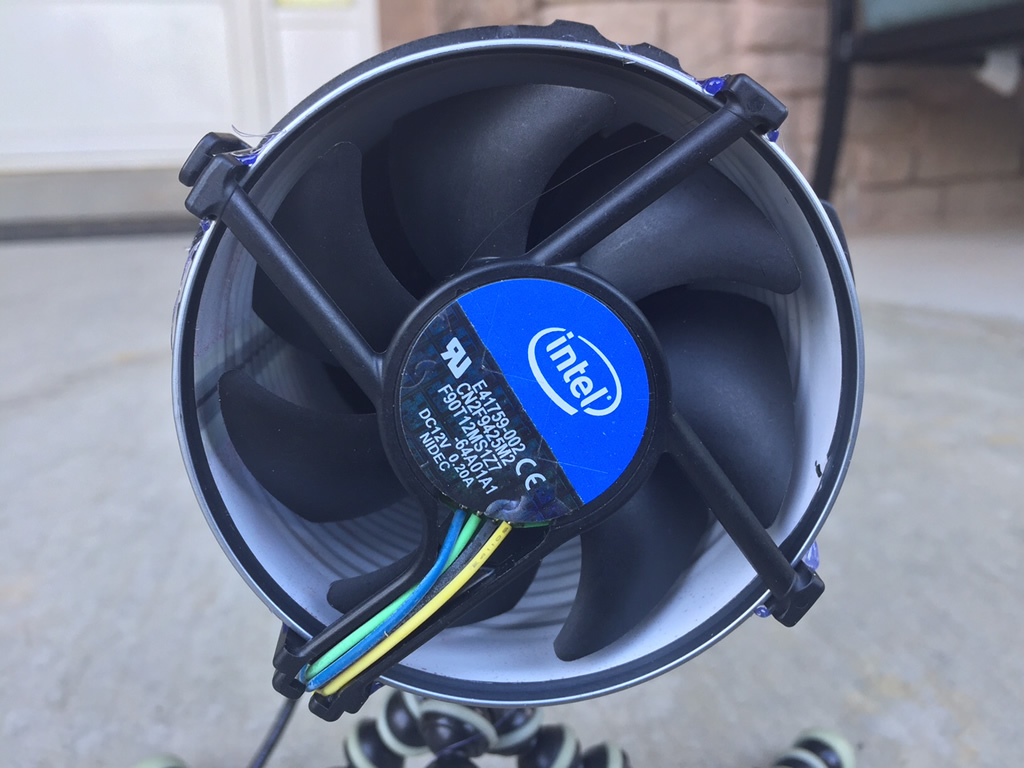
- 1 x CPU fan – I had an Intel e41759 sitting around from an old build – it fits perfectly. Others may do, but make sure the fan diameter is a few mm smaller to fit inside the can you are using. Oh, don’t forget to remove the heatsink.
- 1 x 540 ml can. I used a can of Blue Menu kidney beans. The can’s outer dimension is about 85 mm. Many products of this type have the same can size.
- 1 x carbon filter approx size 4″x 4″ – you can get this at most hardware stores. I picked mine up at Sayal.
- 1 x flexible camera mount (anything that flexes will do here)
- DC 12 V power supply
- Lots of hot glue.
[ad name=”GoogleAS728x90ImgOnly”]
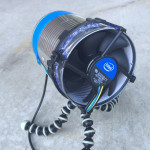
I lucked out with this fan. After cutting off the legs, the outer plastic shell of the fan fit perfectly around the outside of the metal tin while the fan itself sits inside (with about 3 mm around to spare). I was surprised how much air this set-up was able to move. I managed to put this together in about 10 minutes. Cosmetics / presentation was not my goal here. I just want something to suck the bad stuff away from my face. The video below pretty much sums it up.
Wiring it Up:
This particular fan has 4 pins (12V, GND, Signal In, PWM out). This allows the PC to both monitor the fan speed as well as control it via PWM. In my case, I just wanted to power this sucker up, so no micro-controller / PWM here. I just wired 12V and GND up. After all, I want it to suck the crap away as forcefully as possible. You could get fancy and add an ATTiny 85 and some other bits to give you fan speed control.
Steps:
- Open both sides the beans, eat beans, fart. Not necessarily in that order.
- If you get the above-noted fan, you will have to cut off the feet that mount to the LGA775 motherboard. Also remove the heatsink. Use the picture above to reference where to cut. This is not a precise effort.
- The fan will fit nicely inside the front of the can. Wire it up to 12V to ensure the air flows in the right direction. If it is opposite, then pop the fan on the back (it does not really matter).
- Use hot glue to secure the fan around the edges of the can. Hook up the 12V power source and glue the wiring to the can.
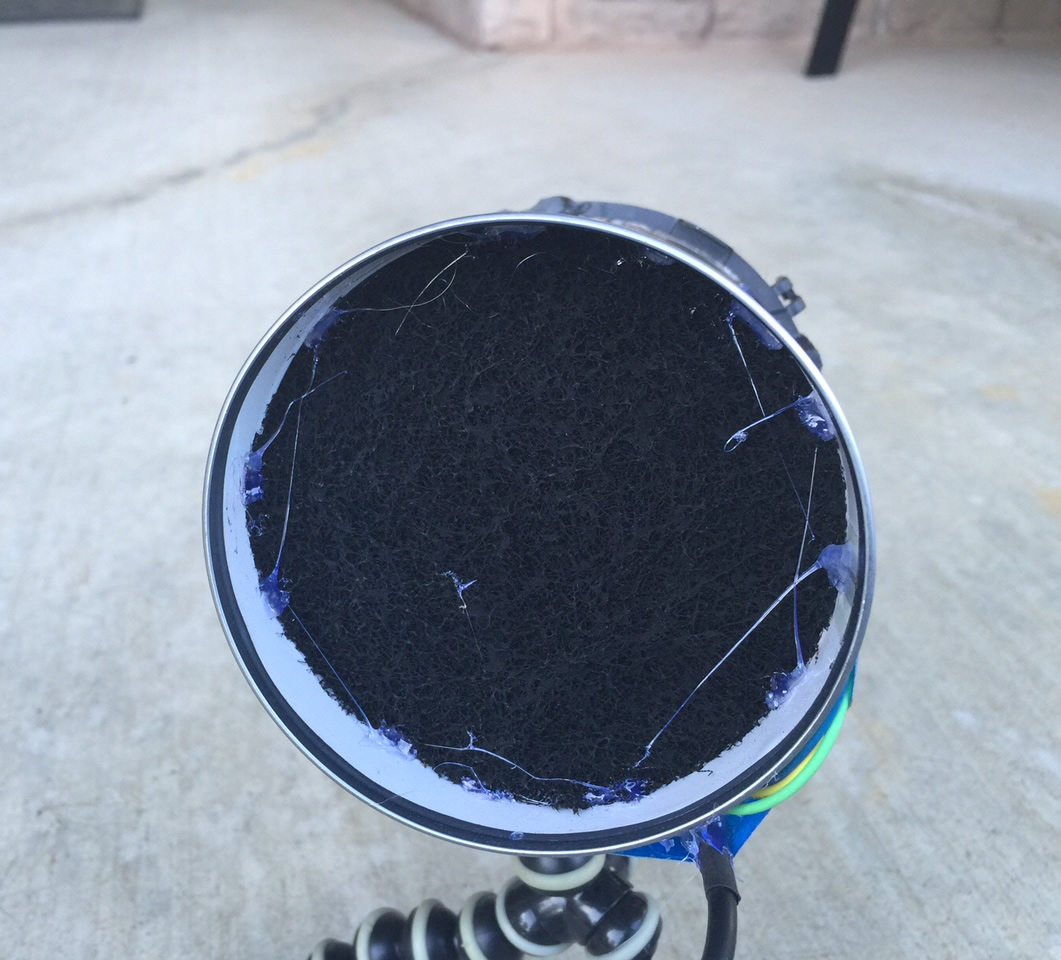
- Using the can as an outline, press it firmly onto the carbon filter pad. I found the can and some good pressure was all I needed to mark the cutout. Cut the carbon filter. Use hot glue to secure it to the opposite side of the can. I suggest installing it about 1″ inside.
- This is optional, but you are going to want a way to mount the unit. I found an old camera tripod and used hot glue to secure it to the can.
- Done.


Comments: