
DIY 3D Resin Curing Station with Wio Terminal
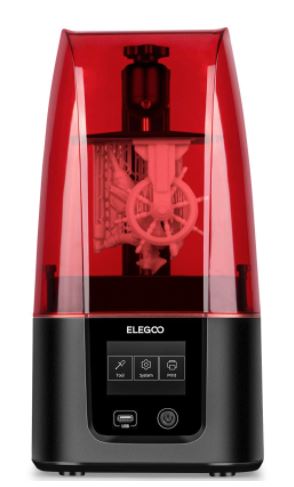
I decided to venture into the world of 3D resin printing after years of immersion using FDM (fused deposition modeling) printing. For those who are unfamiliar with this, it’s like squeezing toothpaste onto a surface. I have a Lulzbot Mini 2 and love it, but at times I want a very high quality print that I just cannot get out of FDM printing. Nor do I want to spend hours post processing. As a result, I jumped on the newly-release Elegoo Mars 3 Ultra printer (Nov 2021). It had some reviews, and apparently 4k resolution is the bomb this month (given 6/8k are just around the corner!). It also diverges from the common RGB LCD screens toward a black an white LCD. As I understand it, the direction is to move away from most costly RGB screens as B/W will do – which makes sense given the way these things work and the newer ones last longer.
 I’m currently in discovery mode having not even used my new Elegoo Mars 3 Ultra yet. As I research all the tools and bits I need, there’s a good argument for a UV resin curing station vs curing by hand. I don’t really want to be exposed to UV light and want to limit the mess & handling of resin. Seeing these things are $100+ and are quite simple in design, I figured why not!? Easy peasy right! Timing would have it that SEEED recently sent me a new Wio Terminal to try out. I had most of the electronic bits to make this an easy build. So this is a review of sorts as well. Just needed to order a UV LED strip, a solar powered turntable, and a garbage tin. Read on for how I pulled it together, and you can also watch the video where I share my thoughts on the build and more specifically the plusses and minuses of the Wio Terminal. Check out the video for more info on this build as well as my experience with the Wio
Approach:
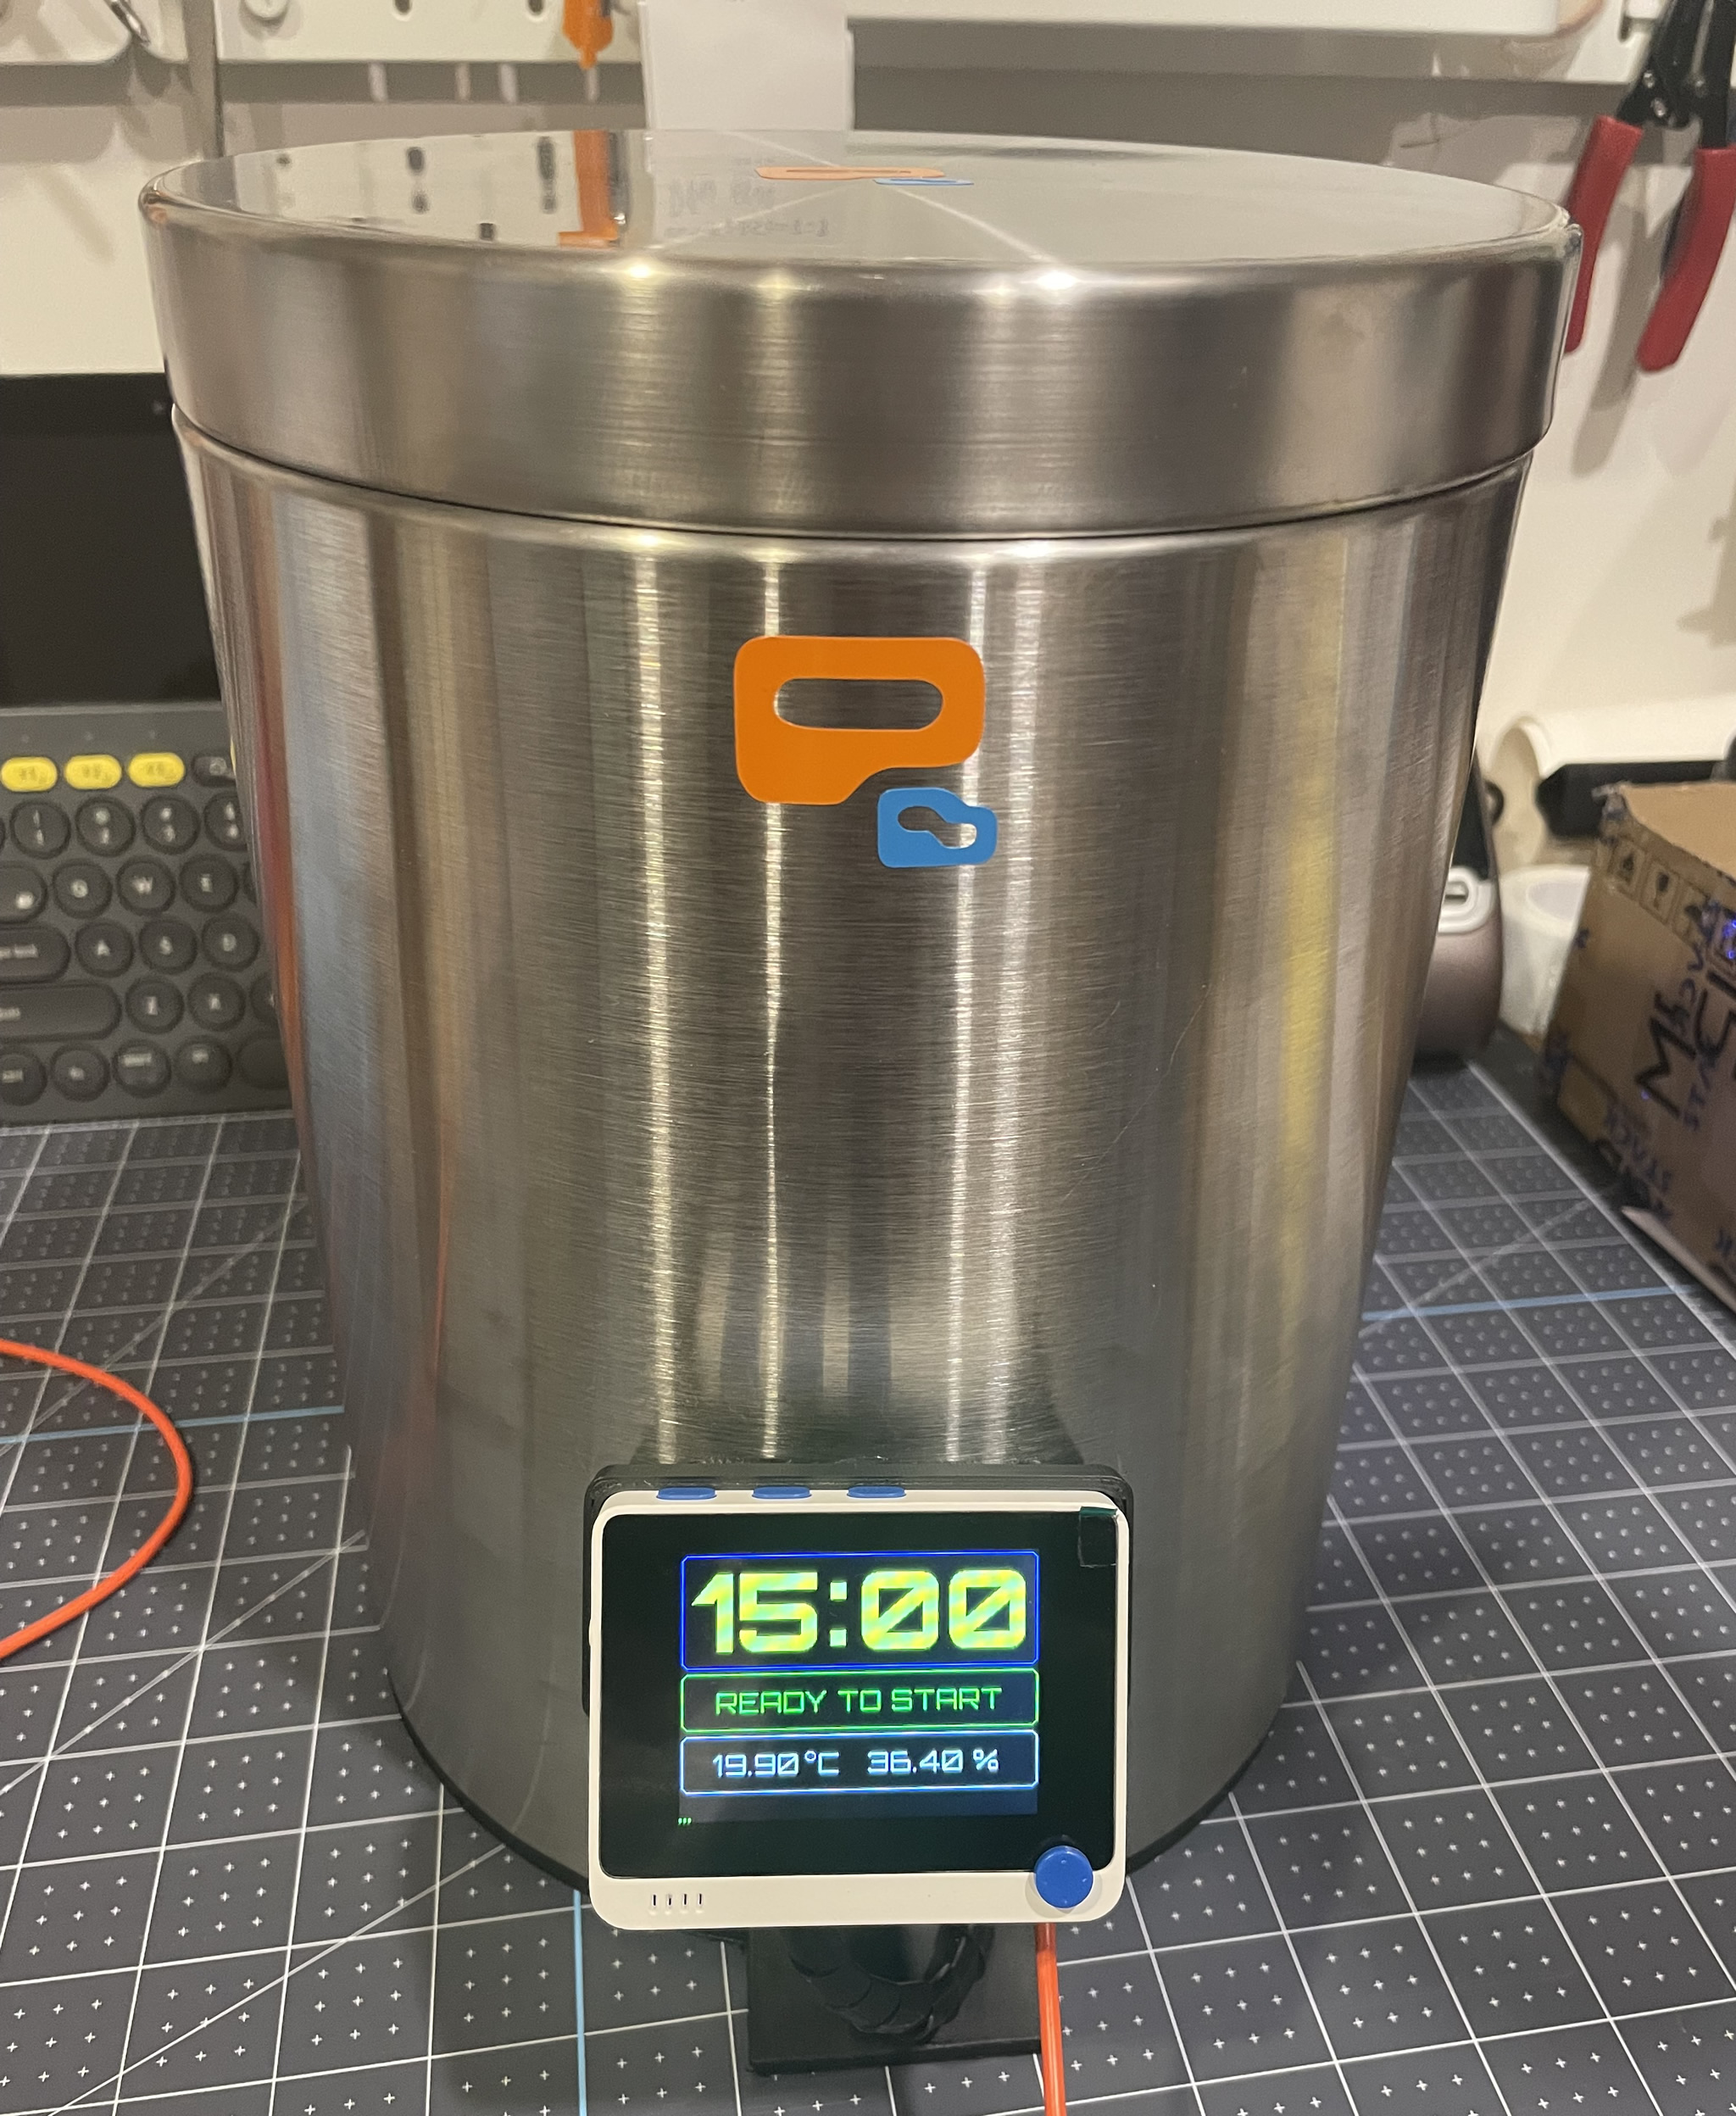
Below are the current features:
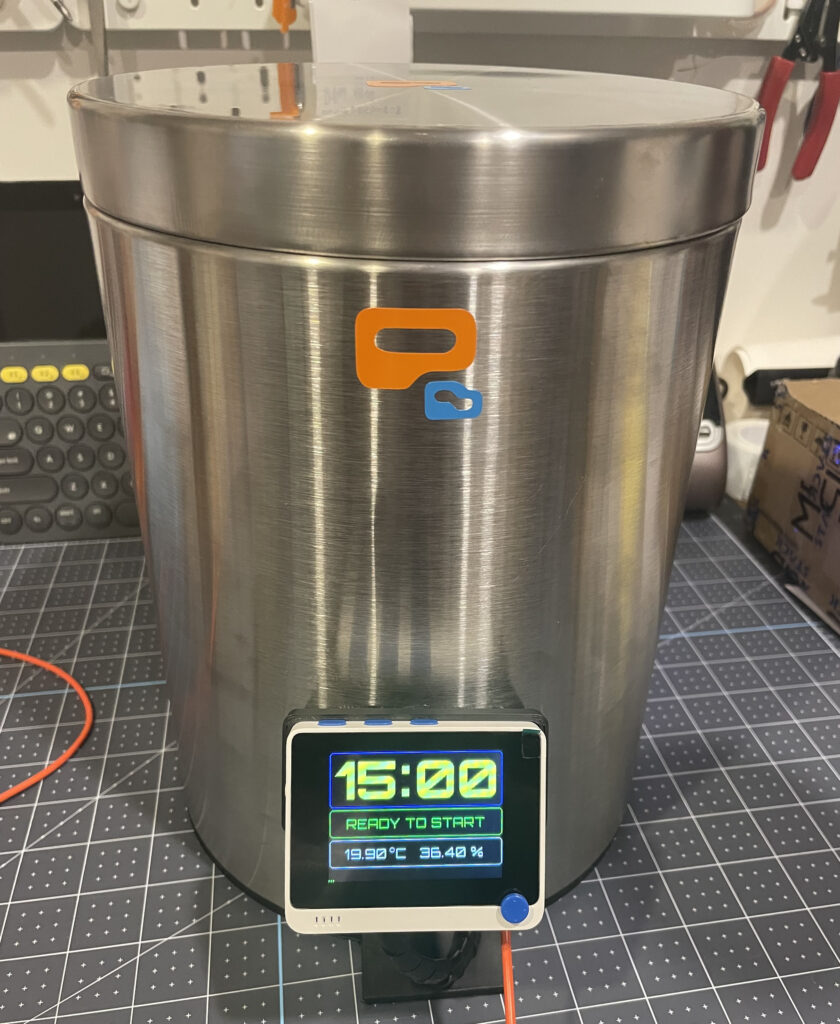
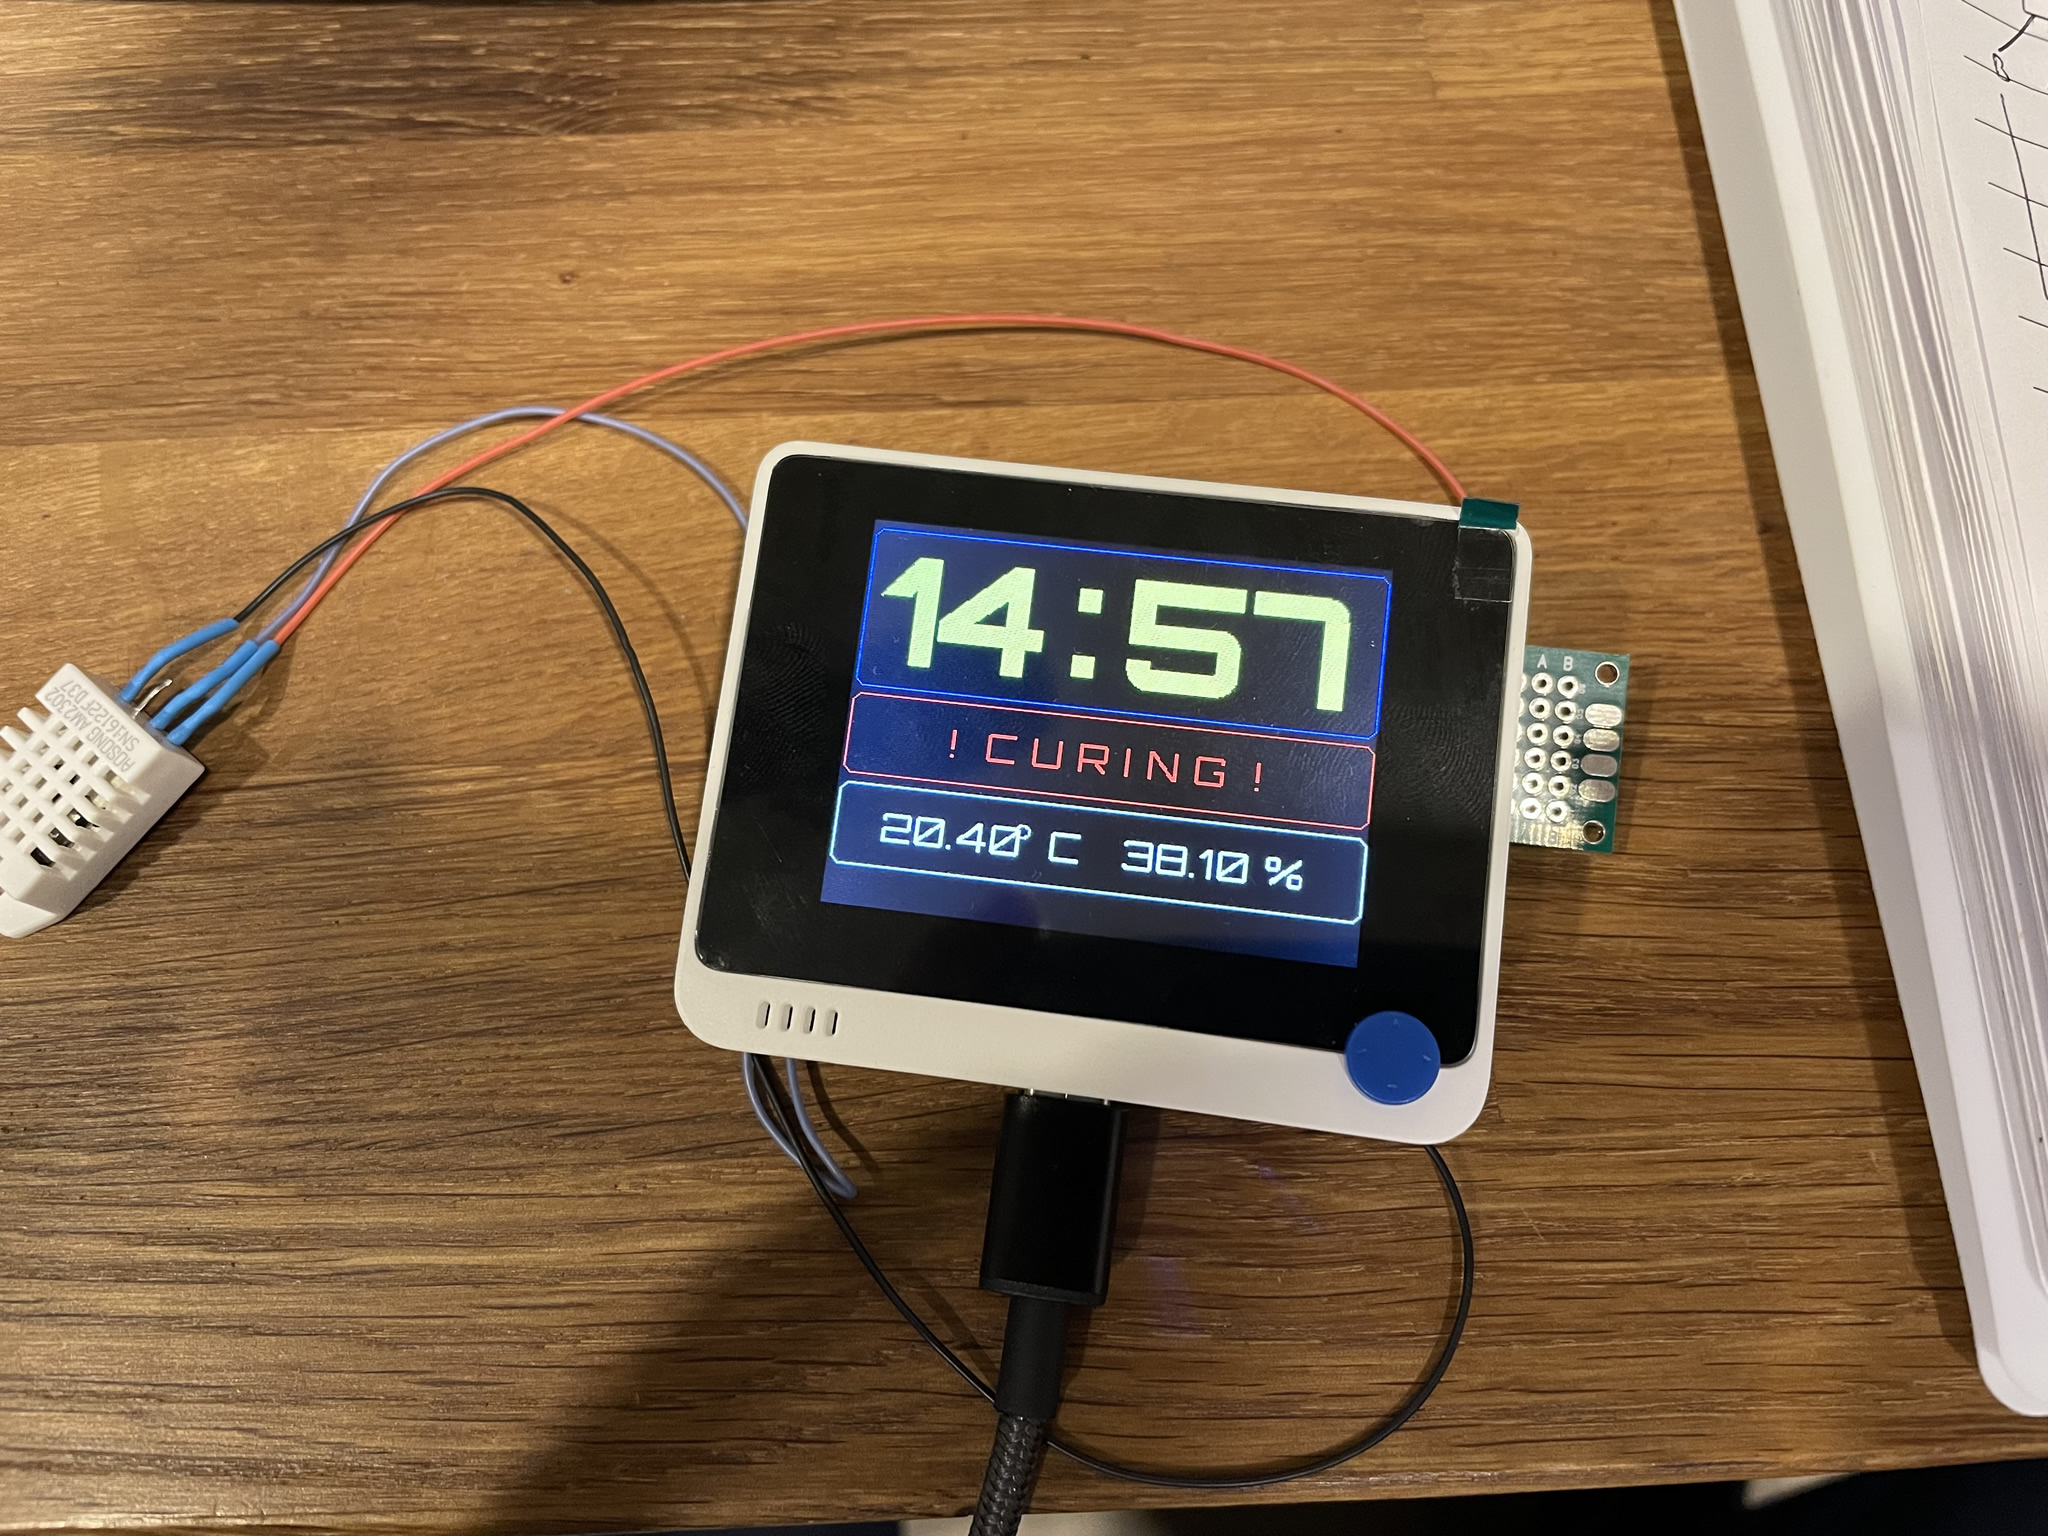
- 15 minute countdown timer for curing duration (can be changed via code, or the joystick)
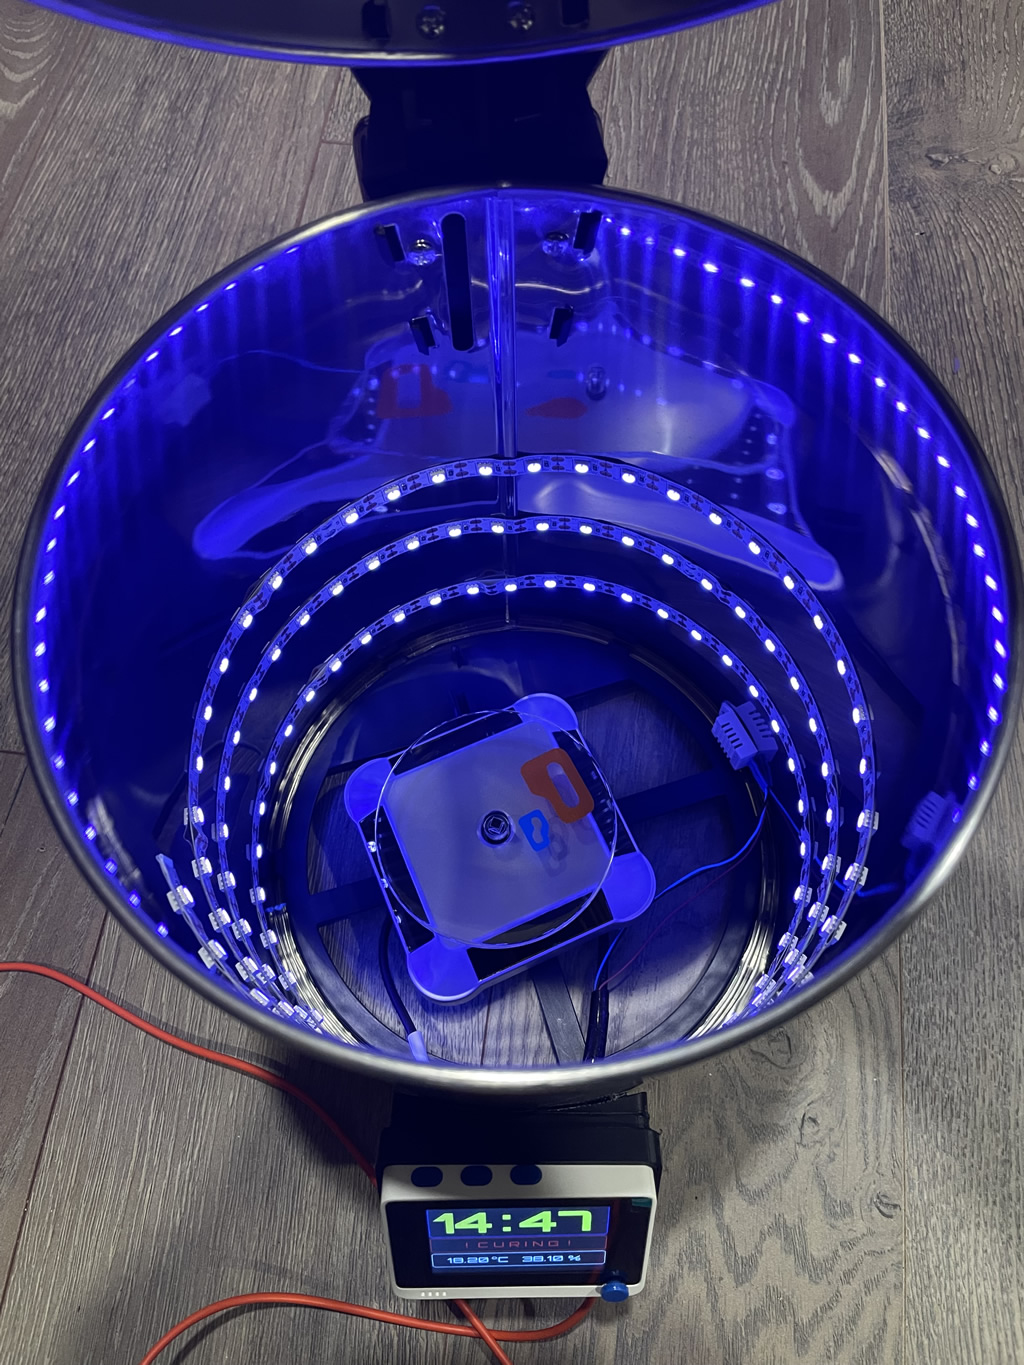
- States on the HMI: Ready, Curing, Pause and Complete
- Displays temperature and humidity inside the chamber. Temperature histogram at bottom
- WIO joystick to add or reduce minutes & start / stop the curing
- The turntable has solar panels that are powered when the UV lights are on, so no need for any control there
The Build:
 I found a stainless garbage can on sale at my local Canadian Tire, so started with that, having little patience to wait for stuff from Ali, I ordered the UV LED strip (5V) and a cheap jewelry turntable off Amazon (they were only a few bucks more). I had the rest of the electronics laying around:
- Wio Terminal (AliExpress) (SEEED)
- 5V USB LED strip (make sure it’s 5V)
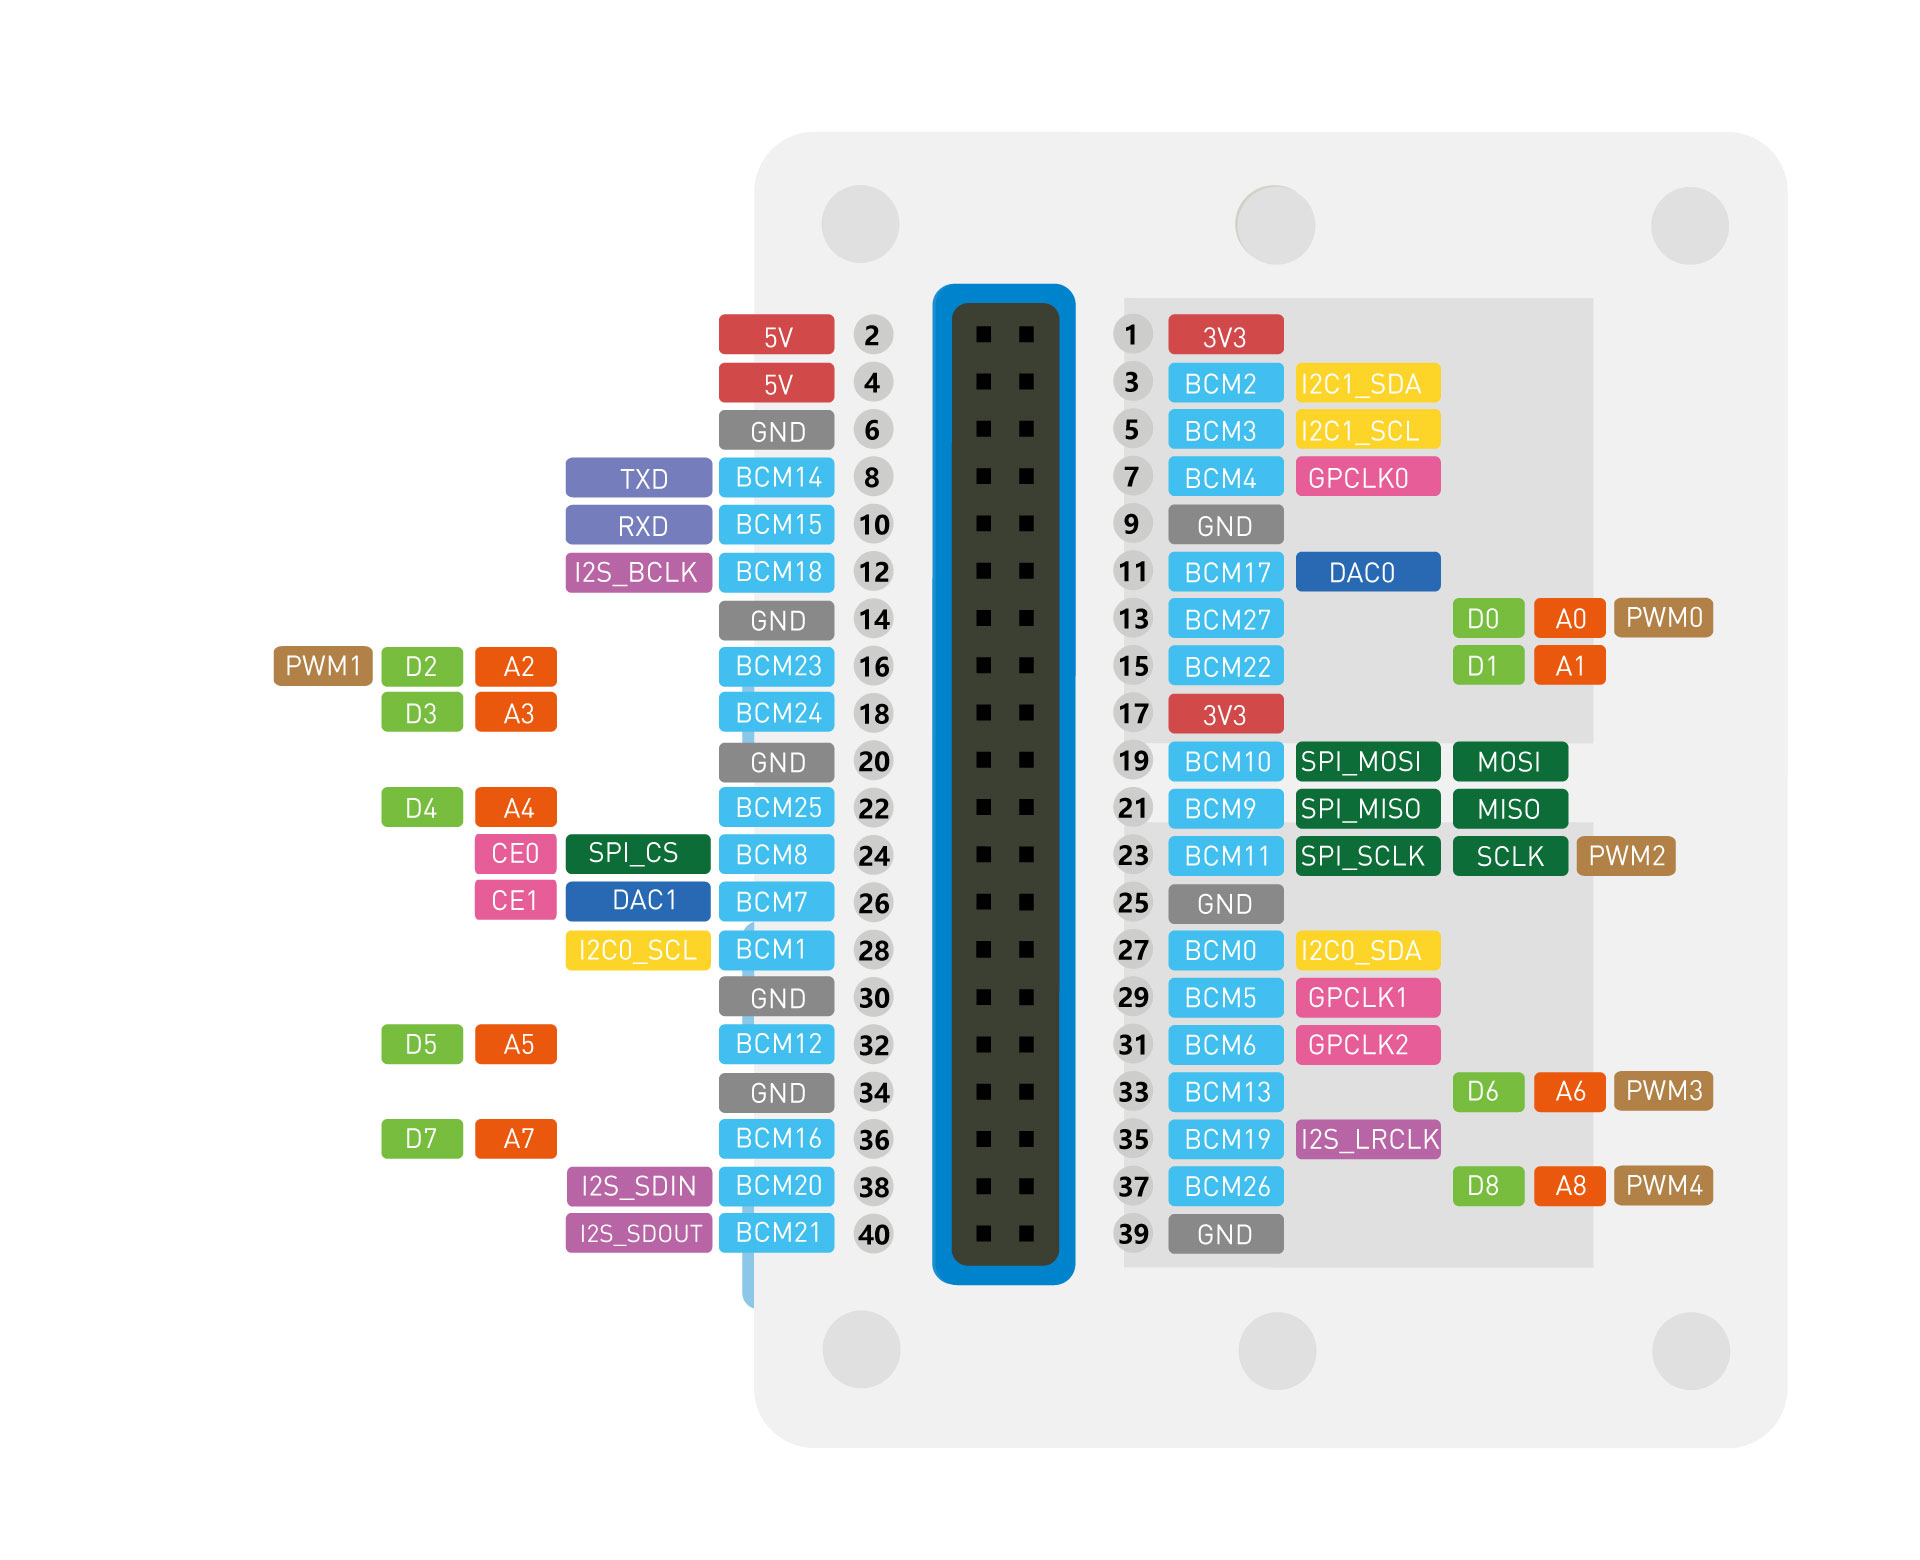
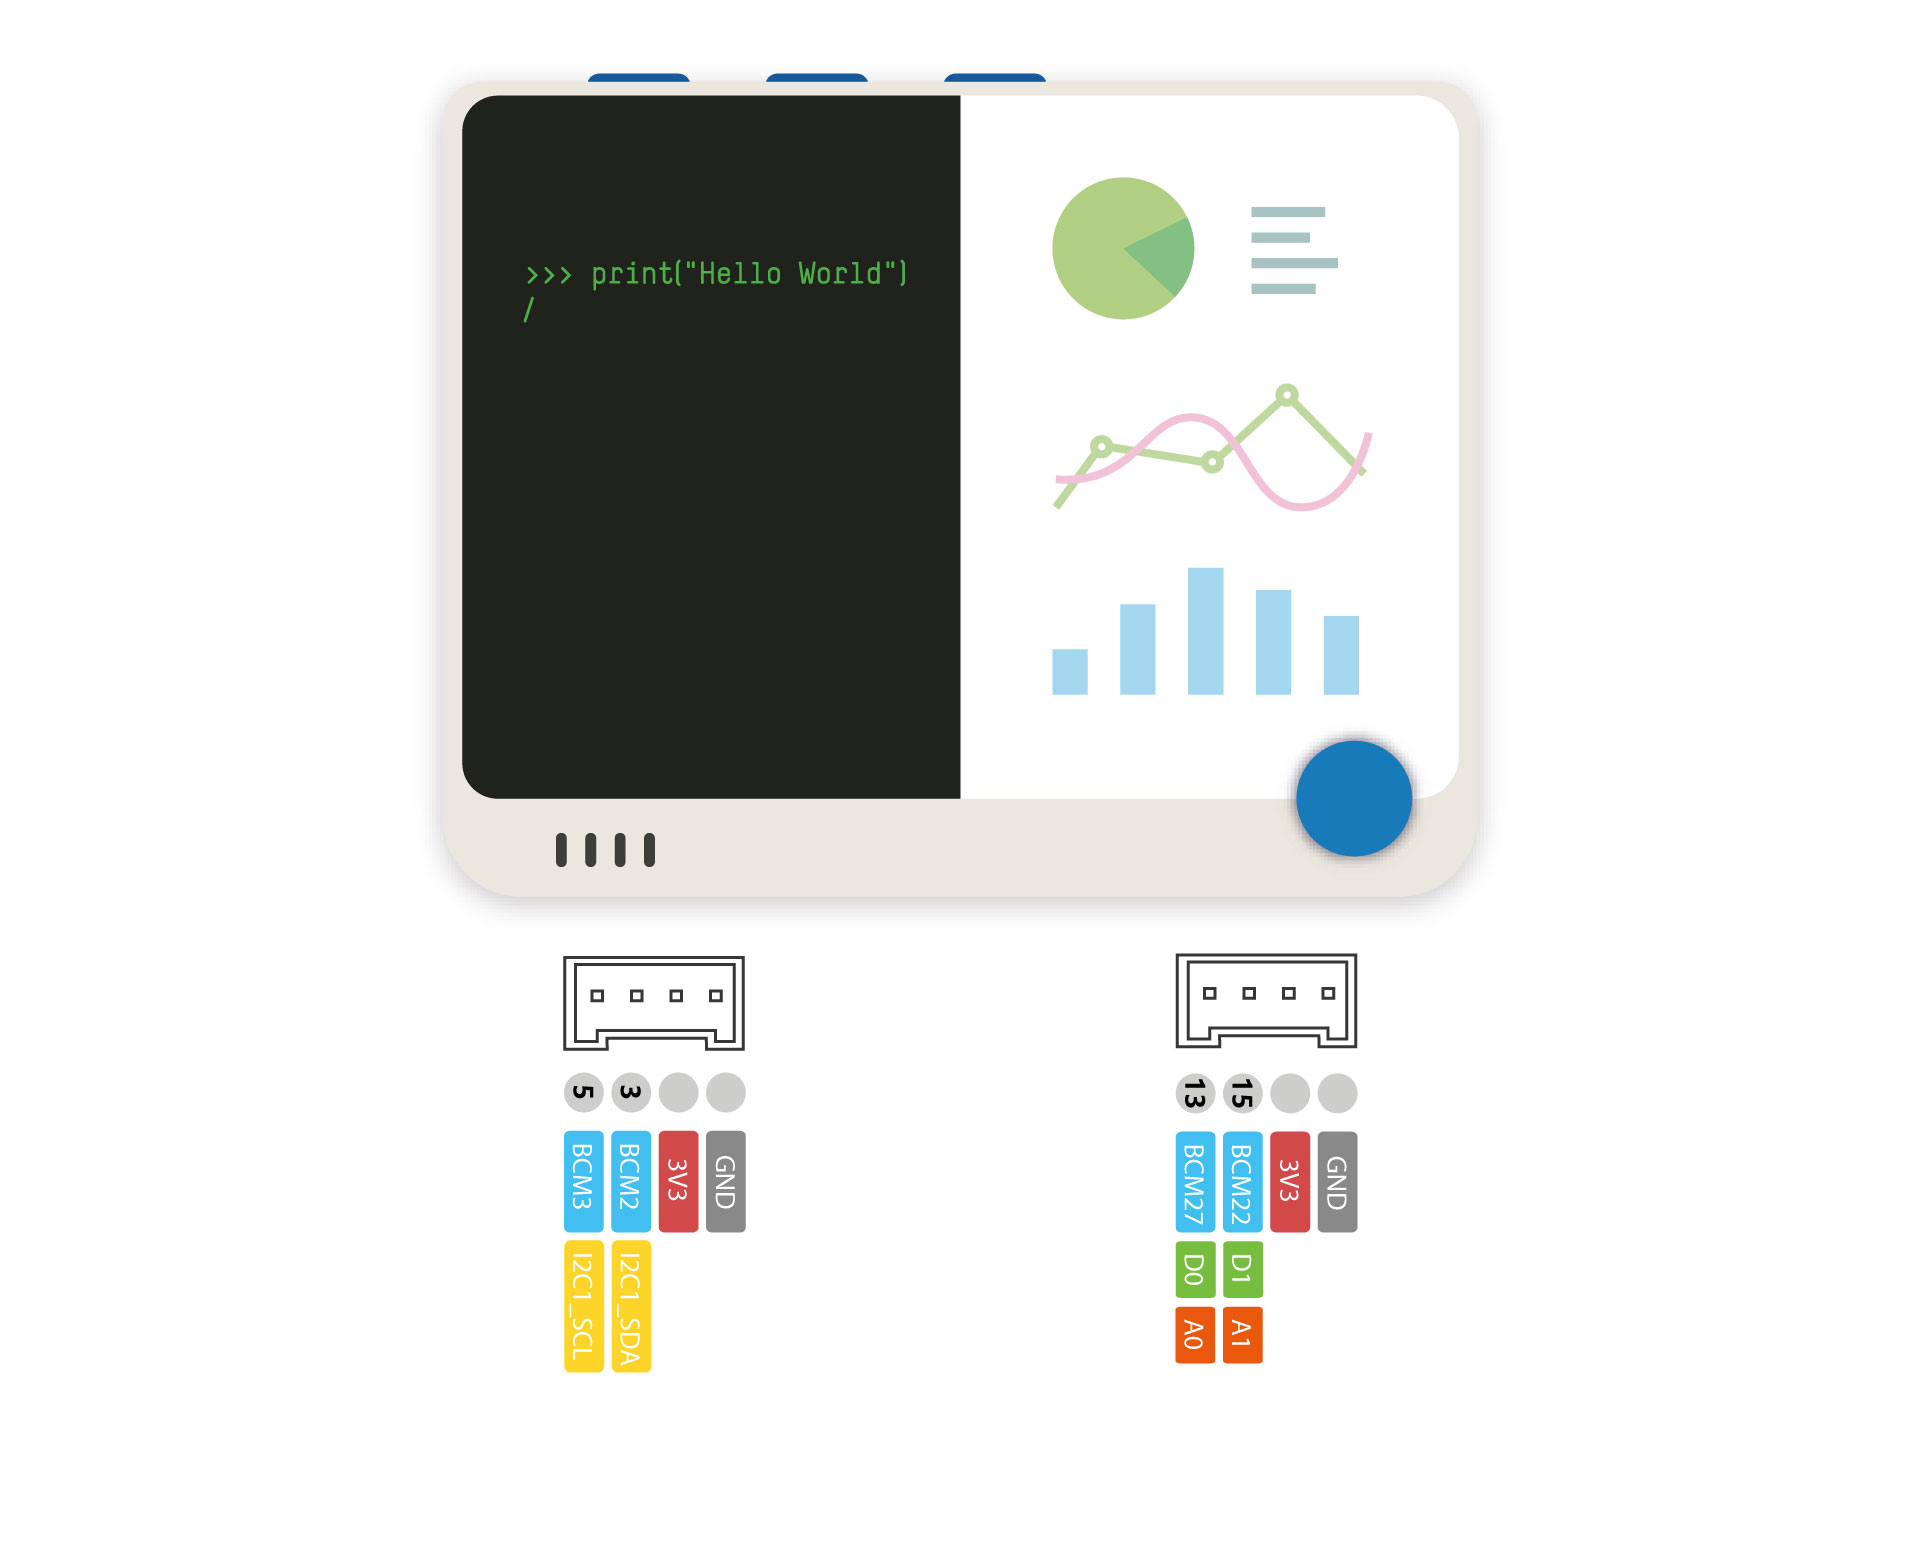
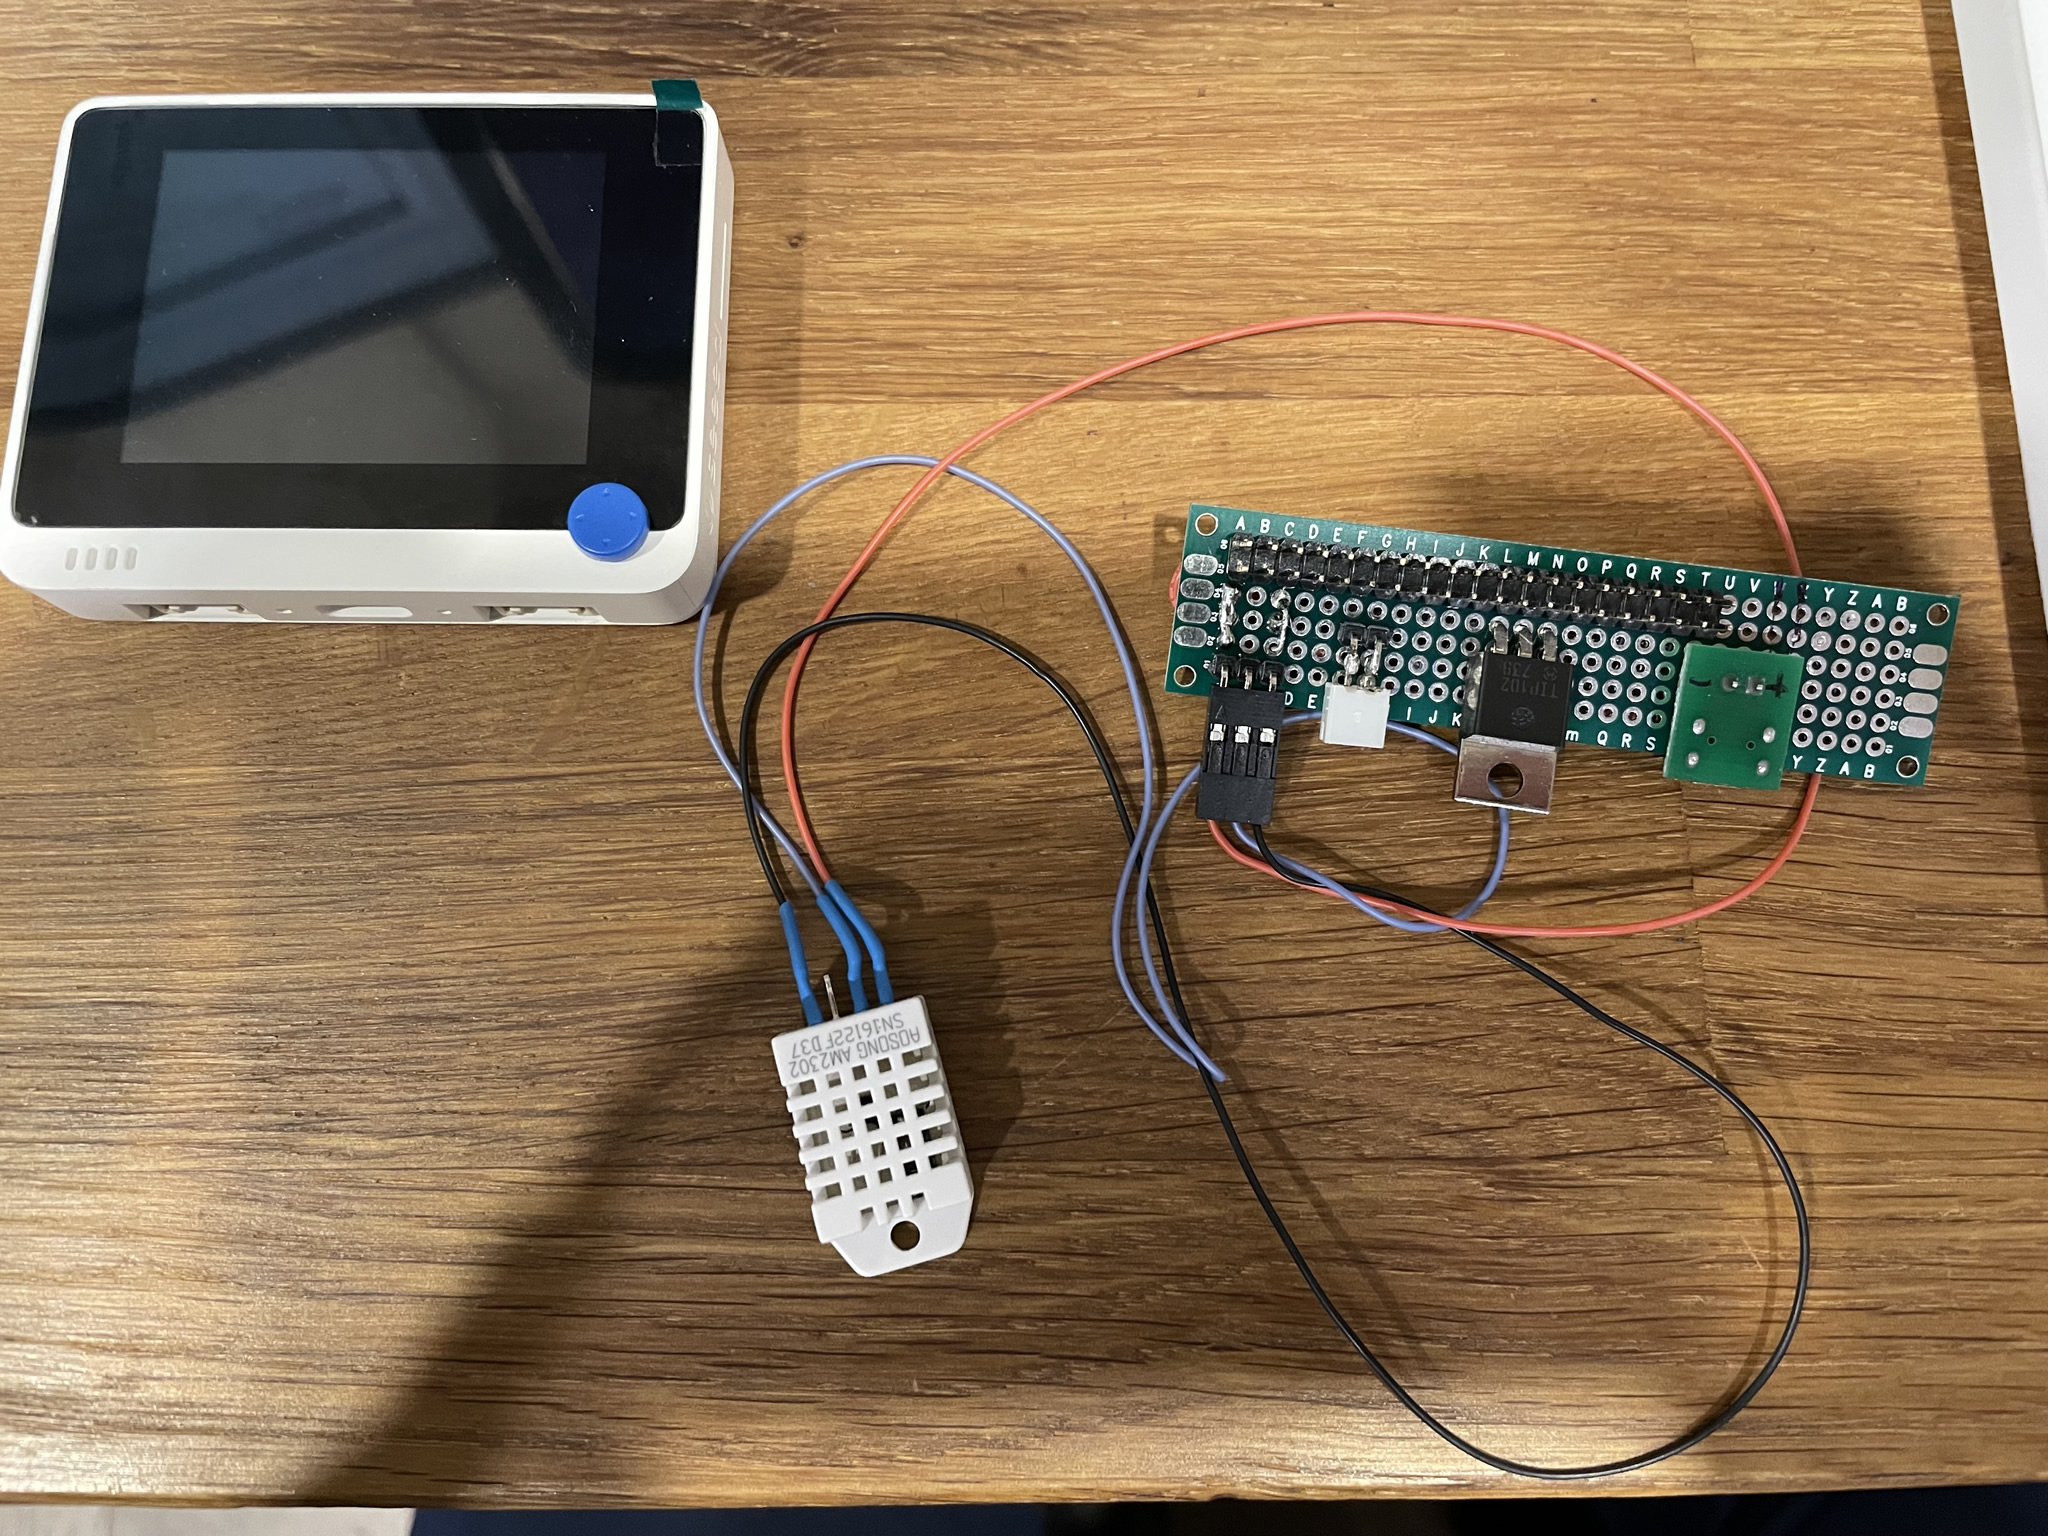
- Dual row header pins given the WIO has a RPi like breakout interface
- 90 degree header pins for the LED and DHT22 Temp/Humidity sensor connectors
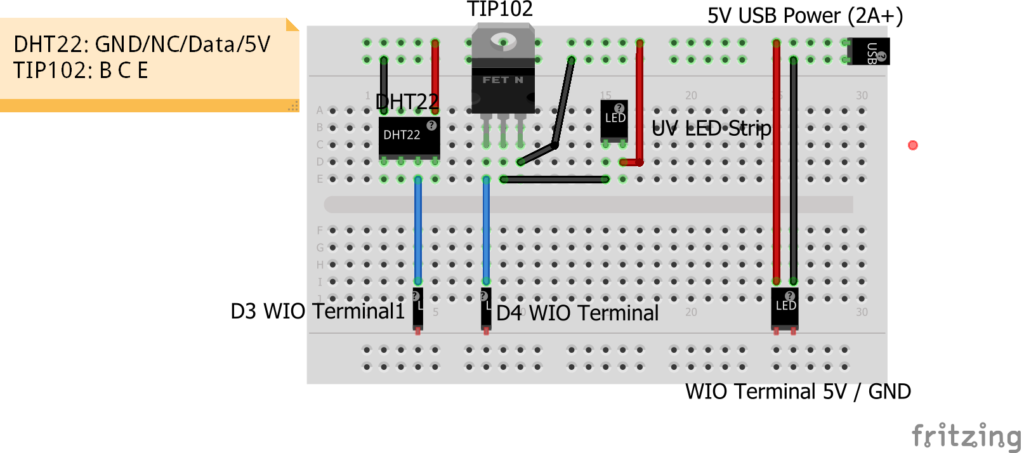
- DHT22 Temperature / Humidity sensor
- TIP102 MOSFET (used to control PWM power to the LEDs as you should not power the LEDs directly from the WIO 5V power. Others such as the BC547 will work but may require different connections that the diagram below
- USB mini breakout connector
- Silicone Wire
- Breadboard to make the breakout connector for the back of the WIO
Wiring:
The below diagram lays out the the various components and wiring. In this case, I’m using an external 5V USB power supply to power everything and not using the main USB-C connector as the Wio can’t likely provide sufficient current for the UV LEDs. The TIP102 is key to providing direct power to the LEDs. I measured my setup with the Wio, DHT22 and 1M LED strip and they that maxed out at 800mA full draw. A 2A USB power supply will do the trick.
Post Build Thoughts
As of completion I only had a 1M strip of LED’s (60 / meter) in there. I haven’t cured enough prints to determine if more LEDs are required. Additionally, at 5V and only approx 700mAh, I’m not sure if there is enough intensity. So far, using the default 15 minute curing time, it appears the few prints I’ve cured are coming out somewhat stiff and milky in texture (I’ve been using Poly Juice clear blue resin to date), so it seems to be working…
Your Support is Appreciated: A lot of time is put into developing my projects and the publishing of videos and these build logs. If you use them for your projects, please consider supporting me. It will go to purchasing new things for future projects and help support the work I do here. You can support me either via Ko-Fi or PayPal below. Thanks!
Code:
A few notes about the code – links within the ino file:
- You will need to setup the SEEED Wio Terminal boards – see the Wio Wiki in the file for details
- The following libraries will be needed: LovyanGFX, DHT, Countdown Timer and Switch. Details in the file
- See the notes on added fonts


Comments: