How To: TFT LCD with TouchUI on Raspberry Pi OctoPi Rig
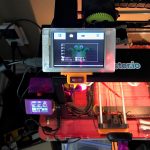
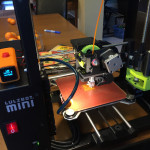
I recently ventured into adding a " TFT to my LulzBot ; I already have OctoPrint running, but there are times (usually during filament failure events) I need to directly control the printer (heat the filament, move axis motors etc). After 3 painful days of messing around with different tutorials, I finally figured it out and it works dammit! I haven't found a single source that has all steps in one place, so I decided to…
USB Dial
This is another one of those "did it because I can" projects. It's a USB dial that uses a Teensy Arduino unit at it's core and allows me to emulate my mouse. I use TinkerCAD avidly to design my 3D printed models. I wanted to have both this and my mouse at the same time. The mouse would be used for some activities ( object selection/rotation/editing) while the dial would fill in to perform rotate/zoom in/out…
3D Printed RC Hex to LEGO Hub Adapter
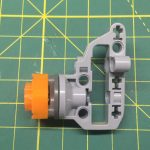
After building BluCrawler, I wanted to see what other possibilities there were with builds using RC crawler tires. LEGO is not there yet with similar tires (closest are the Claas Xerion tires - but they are not crawler tires). Anyway, it's challenging to mate a LEGO hub to an RC tire. There are aftermarket adapters out there, but they are expensive, so I decided to design and print my own. The STL file is available on…
Nextion TFT LCD – Why you need one!
I'll start this by stating that I don't work for iTead, and nor am I getting any sort of I just really like this TFT LCD. I stumbled upon the Nextion (which is a slick easy-to-use TFT LCD with a HMI editor) when they had their first crowdfunding campaign a year or so ago. I ignored it as there was not a lot of documentation, and frankly, I really didn't understand the concept of…
WIoT-2 Weather and Home Automation – Nextion with ESP8266/ESP32
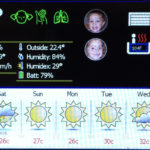
This is a continuation from my first iteration of WIoT weather station. What is WIoT-2? I use it as a cloud-connected (IoT) info center of sorts. It is a culmination of information my wife or I often look for either on our way out of the house, or when we come home. It displays current/forecast weather, temp/humidity from outside the house (this), date, time, our local waste collection schedule, currency rates, the status of our garage…
WIoT: Weather Station & IoT Notifier
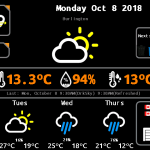
Update: Check out my latest version of this project WIoT-2. This is a project that I have been wanting to do for some time. Since the marrying of IoT with microcontrollers, the world of cloud-connected devices has taken off. I had a hard time naming this thing because its sort of a swiss army knife of IoT. I keep coming up with new ideas as to what to connect to and control. I've done other…
LISAMRC ML180 Carbon Fiber Frame Kit – Review
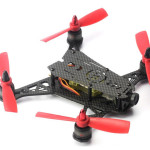
Today we are doing a review of the LISAMRC ML1800 Carbon Fiber Frame Kit. Not sure what LISAMRC stands for, so I suppose it's a 'cool' factor thing. Overall, I'm pretty impressed with this micro-sized quad frame kit. It's well crafted and light. There are some minor issues, but no show stoppers and nothing you can't fix with some spare bits. The following is an unboxing review and observations putting the base kit together. Sometime in…
LulzBot Mini: Arduino Temp Monitor / Fan & LED Controller
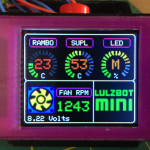
I'm on a mission to reduce the amount of noise my LulzBot Mini 3D printer makes. I've already added a motor damper to the Y axis. However, one thing that is consistently noisy is the case fan. It's on at > 70% nearly all the time. In addition to this, the air vent fins in the side of the case amplifies the fan noise. So, I decided to build my own fan controller. …
DIY & Hobby Projects: Parts, Components & Tools Must Have’s
Most people who visit to this site are either DIY'ers, Makers, Hackers, or Robotics / RC enthusiast. For the most part, we all do the same thing - we build or mod stuff for our projects or hobbies. Over the years, experience and repetition has given we wisdom as to what works, what doesn't, and key components that I want to have on hand. I wanted to share a list of parts/components I have found useful for…
LulzBot Mini: LED Lighting Controller
Update: Check out the more recent mod - camera mount and better lighting. So, I just got my LulzBot Mini this week and have to say I love this thing. It's my 2nd 3D printer (I Kickstarted the M3D - but it was not a reliable machine). Anyway, like any guy with a new toy, I had to do something to make it my own! ..and why not print some parts for it! The…

